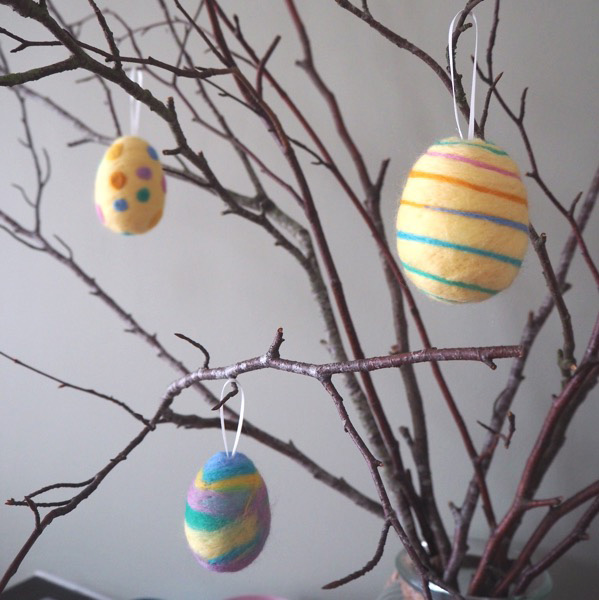
NEEDLE FELTED EASTER EGGS

Spring is officially here!
Yey! Though I must admit, I have a bit of a love/hate relationship with spring time. I love all the colour, the light and all the new life, but it´s also a time when I always get ill. I suppose after the winter, my batteries are running at an all time low, so my immune system decides to finally throw the towel in. Which is why I´m currently sporting a cold, but as it hasn’t floored me yet I´m excited to get some Easter decorations out.
This year I´ve decided to give the needle felted Easter eggs a try, because I just happened to run into some polystyrene eggs at a local craft store. I have tried these before years ago, but I didn’t get very far as my needles kept snapping almost instantly. In all fairness to the needles I realise now that I wash´t actually using polystyrene, but some weird soft but too dense paper…thingy.
But now I have finally managed to get some done and here are the instructions. Though please be extra extra careful of the needles as it hurts like hell if you pierce yourself.
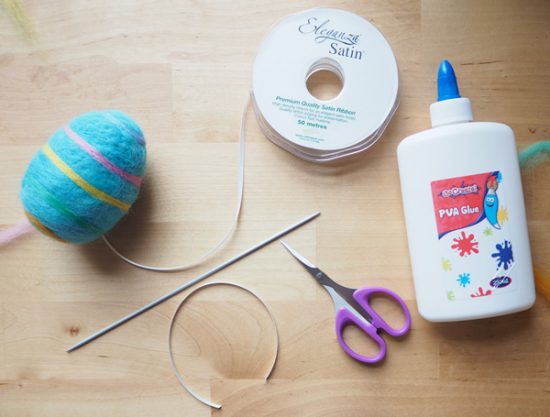
Materials
- Polystyrene eggs
- Merino wool tops (23 micron) in colours of your choice
- Felting needles, I used a 40 gauge triangular needles as that is all I had, but I have a feeling a medium gauge needles would work better
- Multi-needle felting tool
- PVA glue
- Barbecue skewer. 3mm knitting needle works too.
- 3mm wide satin ribbon; 20cm piece per egg

Instructions
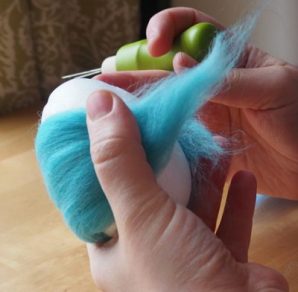
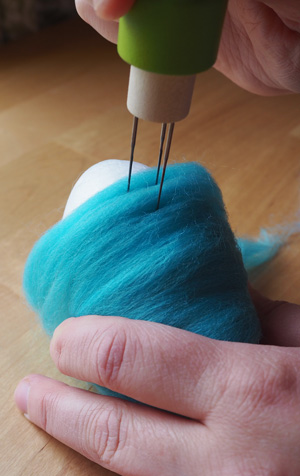
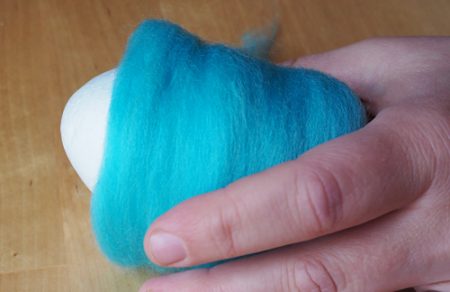
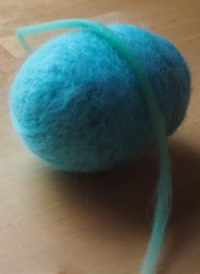
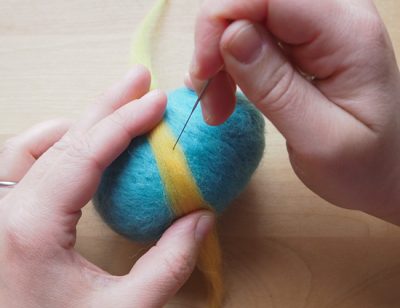
- Pull off a long strip of wool and wrap it around the polystyrene egg. Stab the wool repeatedly with a multi-needle felting tool until the wool stays in place. Repeat until the whole egg is covered and the wool stays in place all around.


- To add details, use thin strips of wool and a single felting needle. Work small areas at a time. You may want to use a fine marker to draw your designs on the egg before working the details but I skipped this as I was too impatient to see my finished pieces.


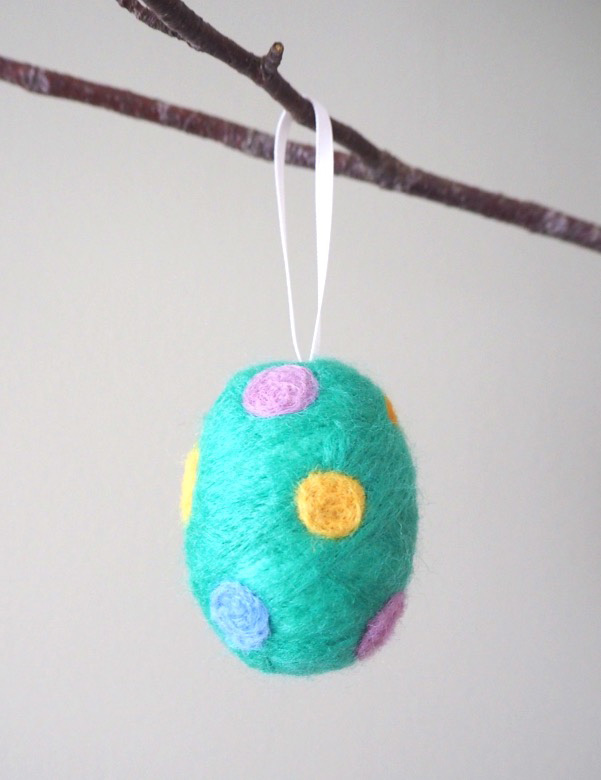
- For the dots I used a small strip of wool, folded it in half and attached the fold to the egg with a felting needles. Then I started twisting the rest of the wool around the already attached fold to form a dot.


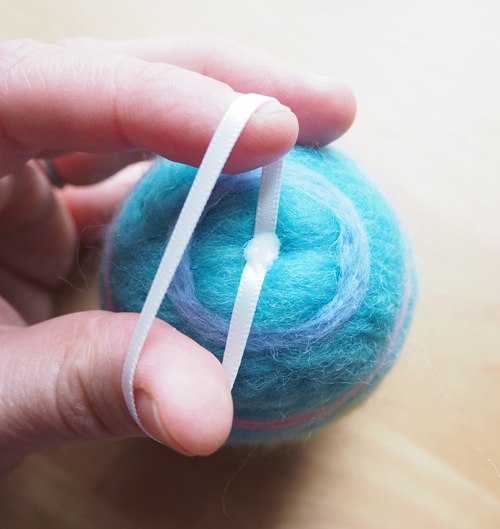
- When you´ve finished felting the egg, pierce a hole in the top with a barbecue skewer or 3mm knitting needle. Turn the 20cm piece of ribbon into a loop with a knot and push the knotted end into the hole. Further secure in place with a drop of PVA.


And you´re done! =)


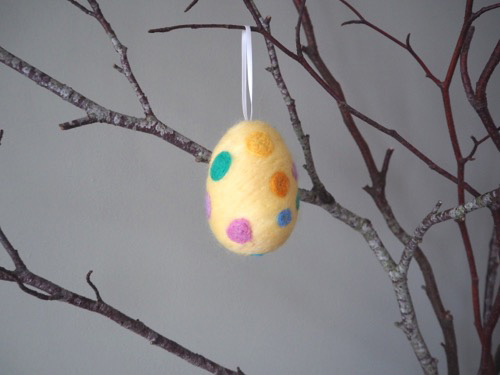
These eggs are not perfect, but they definitely are one of a kind. We went to a nearby forest to get a bunch of twigs so I could hang my new creations on our mantelpiece. I also used a glue gun to include some feathers, which I´ve been holding on to since 2011 because they might come in handy one day! Happy Easter!
